The Start of Uzgamon’s Quest
After the conversation with Lady Laeral, Uzgamon contacts FEND and opens a portal to the Astral Plane. On the other side, the group sees Uzgamon in person for the first time. They notice he is slightly injured and holding an amulet tightly in his hand. Uzgamon explains the plan to the group, along with the key things they should be aware of when traveling through Hell. Afterward, he begins the ritual to open the portal to Hell. The ritual involves a blood-painted pentagram on the ground, with specific items placed at each corner. These items are: the skull of a mortal, a piece of Infernal Iron, a black diamond, a devil’s horn, and a vial of holy water. He gives each member of the group a soul coin, and once the portal opens, all the items burn away, allowing them to pass through the portal.
Welcome to Hell
Upon arriving in Hell, they immediately feel the scorching heat, unbearable for mere mortals. At the same time, they notice an unfamiliar creature that emerges from the gemstones they had purchased from Galfred Ironshell. The creature is a Prismling named Benelion, a celestial being that had disguised itself as ordinary gemstones. Benelion telepathically communicates with the group and offers its support.
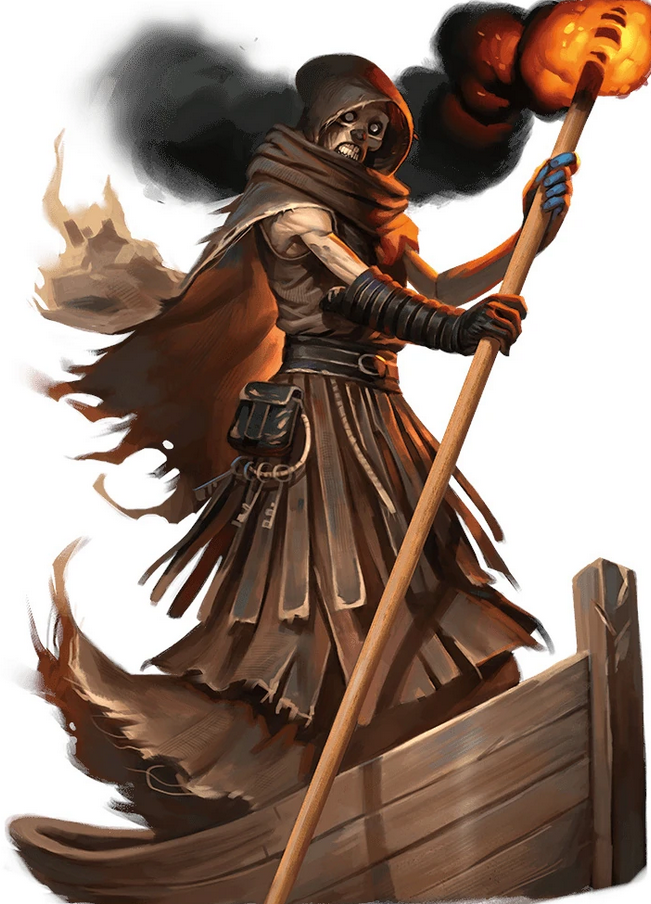
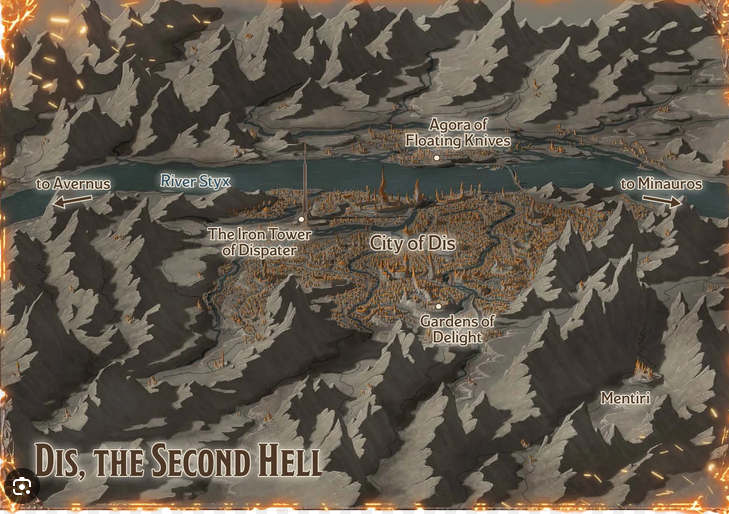
Next, with the help of Uzgamon’s scroll, the group summons a Ferryman to take them down the River Styx toward the City of Dis. They pay the fare of 1,000 gold and embark on their journey. After around 8 hours, they arrive at the “Agora of Floating Knives”. Unfazed by the markets and pressed for time, they head directly toward the massive tower of Dispater. Along the way, they encounter Tivilius, a high-rank devil and right-hand of the archdevil Dispater. Using his mind-reading abilities, Tivilius discovers the group’s intentions and proposes a new deal. Although Tivilius serves Dispater, he has his own ambitions to seize power. He promises not to betray the group to Dispater, as long as they keep his name out of any intrigues. Additionally, Tivilius gives them the key to the first vault door. The group accepts the deal and continues on.
Who Takes Must Also Give
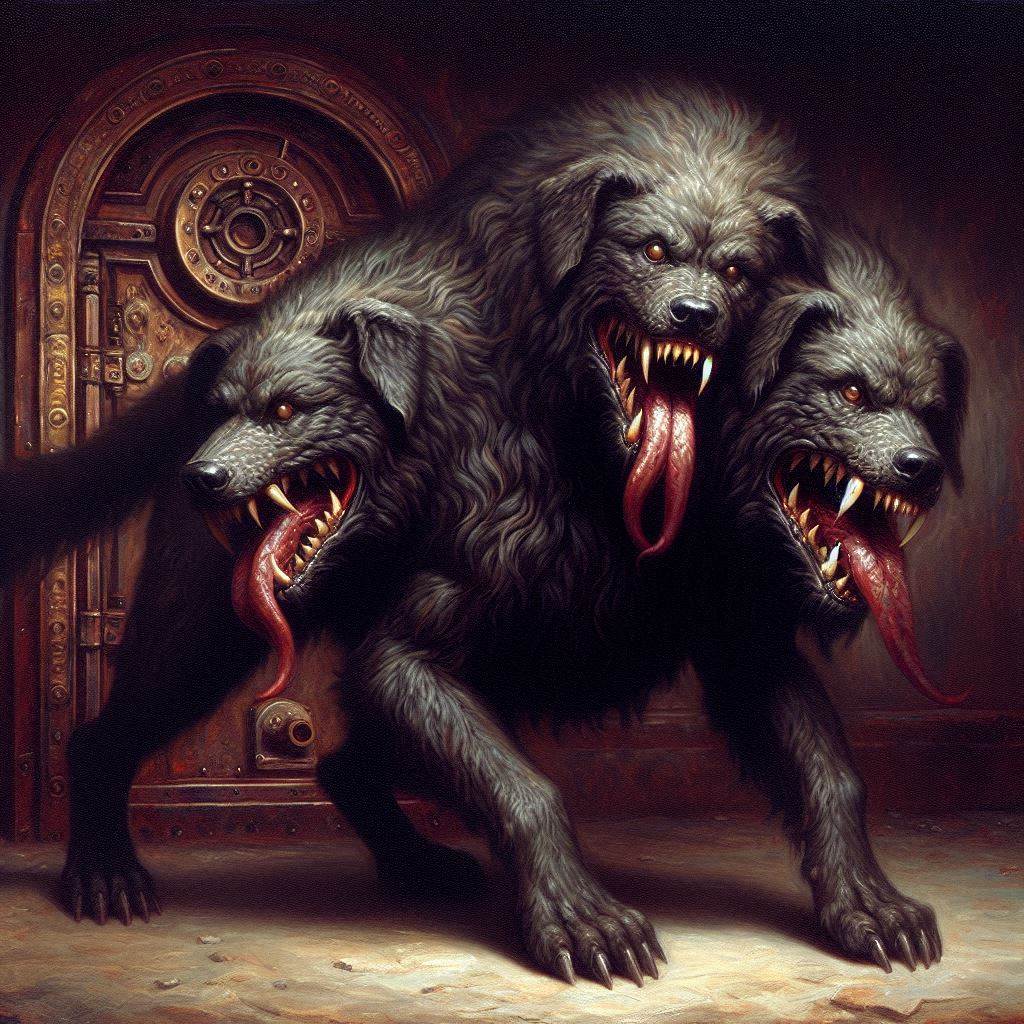
Arriving at the vault room, the group finds themselves facing a massive three-headed Cerberus, which is currently asleep. Behind it lies the first vault door. Beyond this door are four more doors, each requiring a specific sacrifice. The group cleverly avoids these sacrifices by using Franziskus’ summoned horse for the rituals instead.
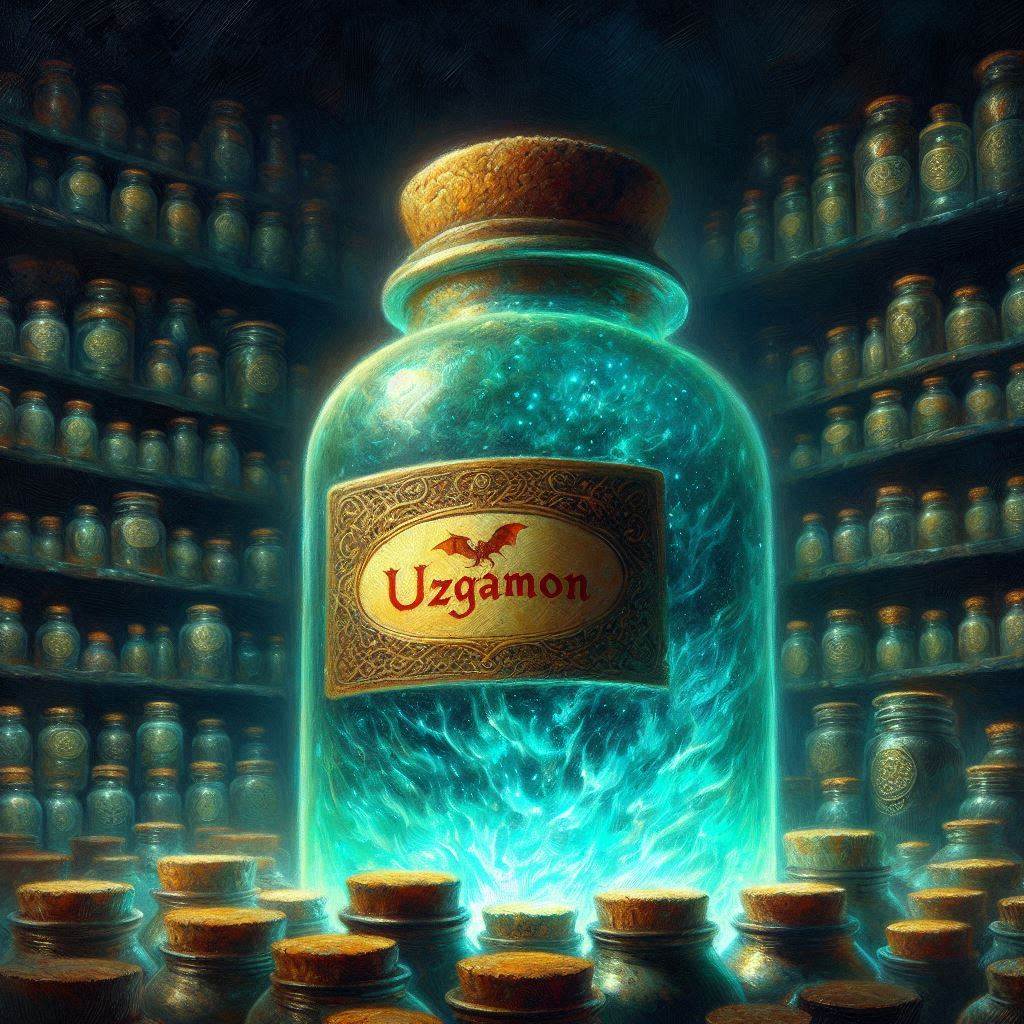
In the final chamber, they find what they were looking for: countless shelves filled with jars, each containing the souls of various beings. Uzgamon’s soul is among them. At the back of the room, piles of gold are heaped, and behind a glass case stands a small Wooden Chest on a pedestal. The group grabs Uzgamon’s soul, the chest, and as much gold as they can, and makes their escape.
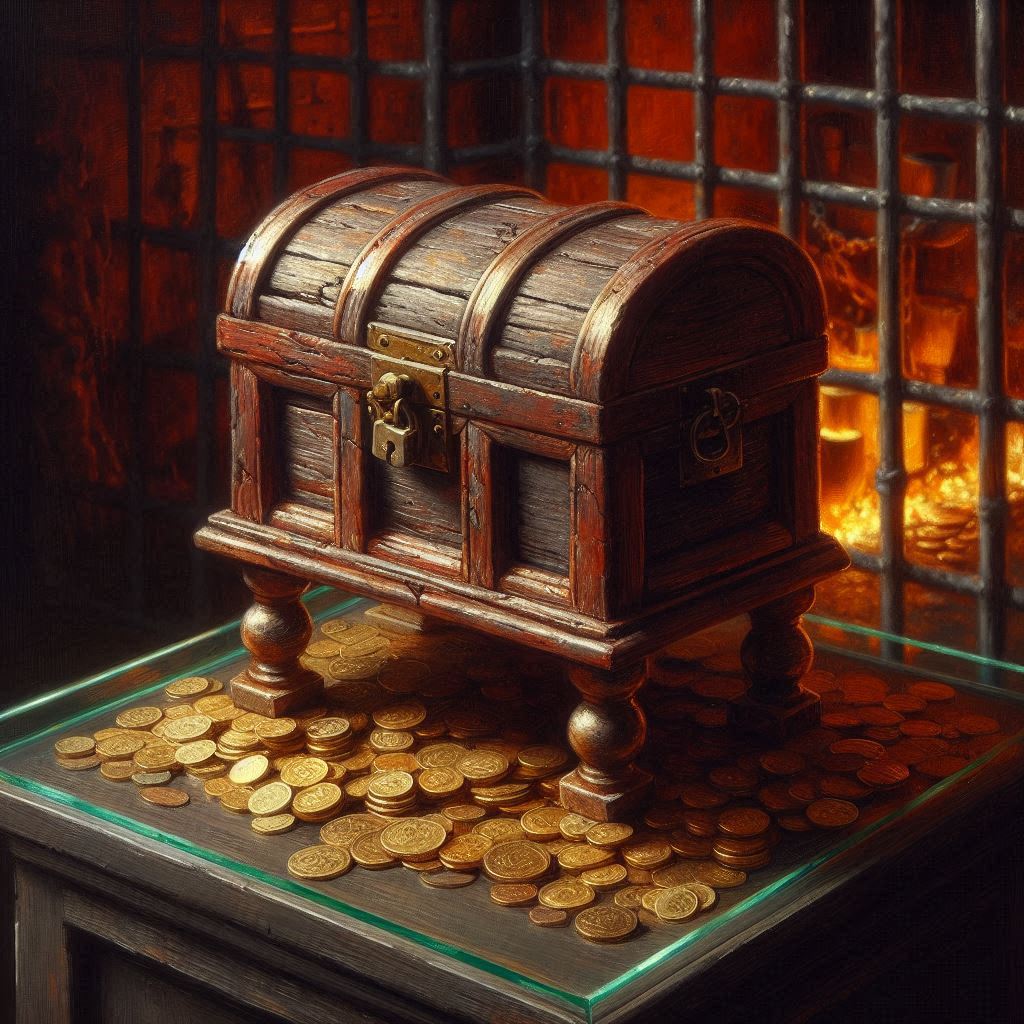
As they remove the chest, an alarm goes off, waking the Cerberus at the entrance and triggering a brutal battle. After a short but intense fight, the group manages to subdue the Cerberus and flee.
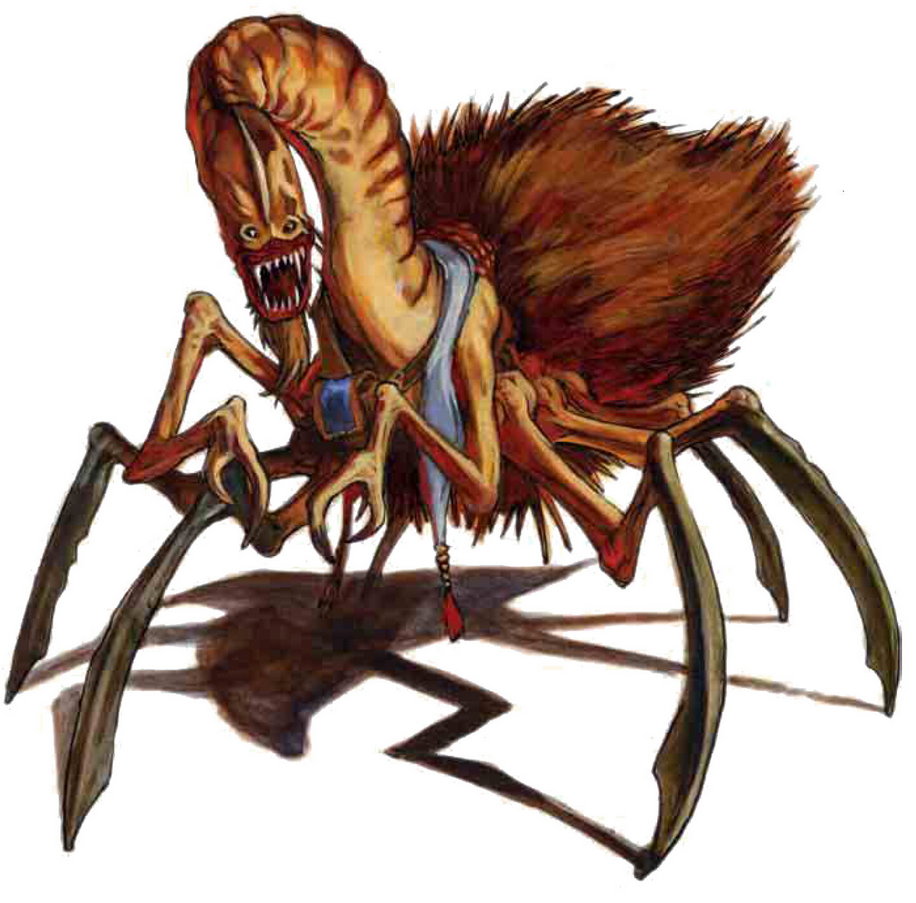
On the way back, Jastor stops at the “Garden of Delights,” where he enjoys a lavish feast and nearly loses track of time for the return journey. The rest of the group explores the markets at the Harbor of Drifting Blades, where they uncover the schemes of the Neogi. To avoid starting another fight, Tivilius once again appears, driving the Neogi away to ensure the group’s safe passage.
After their return, the group passes through the portal again and hands Uzgamon the soul bearing his name. The abilities granted to them by FEND fade, and shortly after, they find themselves once again standing before the palace in Waterdeep.